Fork update
During the course changes will be added to the main repository (changes in tests, bug fixes, etc.) - these changes will not automatically appear in your forks.
To add changes to your fork from the main repository, follow these steps:
Open the repository site sent to you by your lecturer.
Click
Code, selectHTTPSand click the copy button.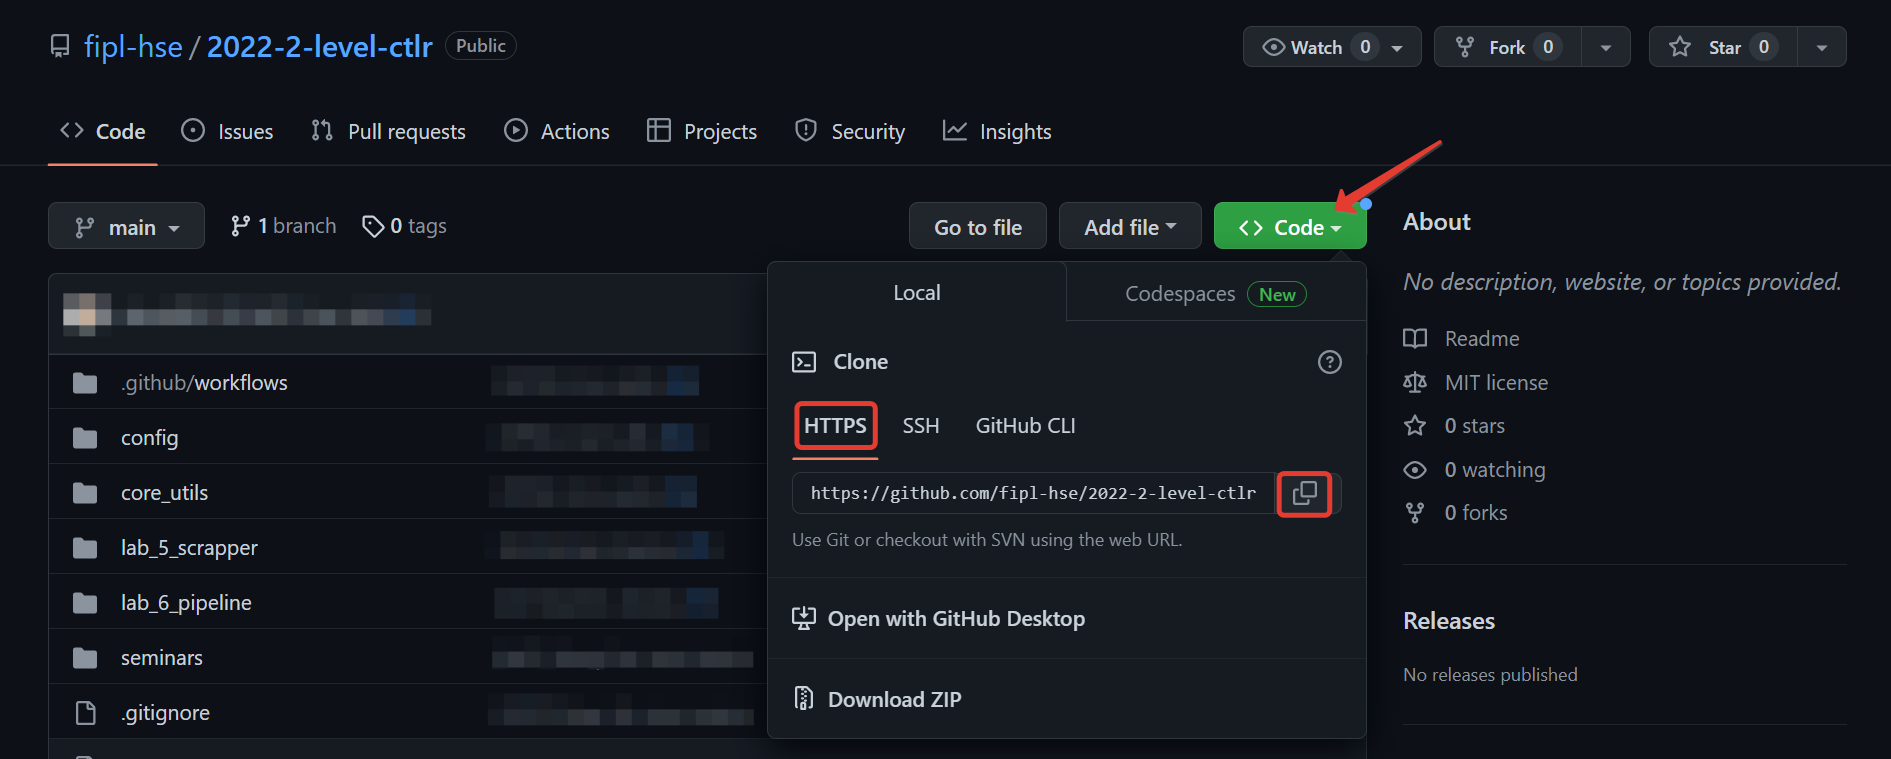
Open terminal in Visual Studio Code development environment.
You can do that by clicking Terminal -> New Terminal at the top bar of the IDE or with a keyboard shortcut
Ctrl + `.Run
git remote add upstream <link-to-main-repository>.
Run
git fetch upstream.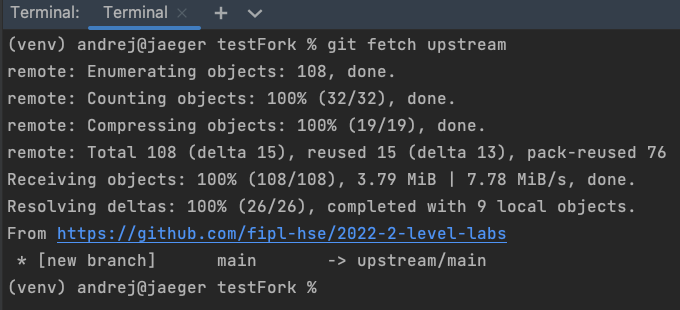
Important
Please note that the link in the screenshot above points to the parent repository.
Run
git merge upstream/main --no-edit.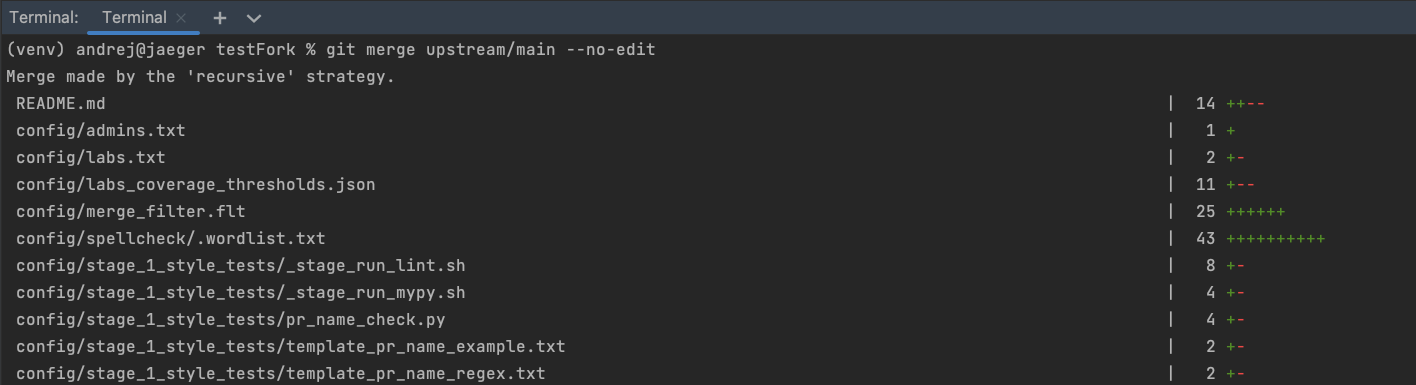
Note
Depending on the number of changes, the output of the command will be different.
This command will result in the latest changes from the main repository appearing in your local fork.
More information about the commands described above can be found in the official Git documentation.