Working with tests: locally and in CI
Running tests locally
Before pushing your changes to a remote fork, you will want to check that your code is working correctly. To do this, you can run tests locally.
Hint
If you extract articles URLs from dynamic site, make sure you use
selenium.webdriver.Chrome and have headless mode enabled.
To run tests locally, you need to perform several steps in PyCharm:
Install tests dependencies (ensure you have activated your environment if you have such by running
.\venv\Scripts\activate):python -m pip install -r requirements_qa.txt
Create a new configuration:
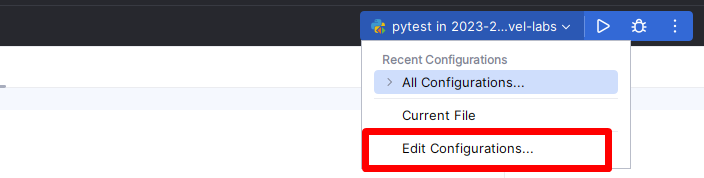
Choose
pytestas a target: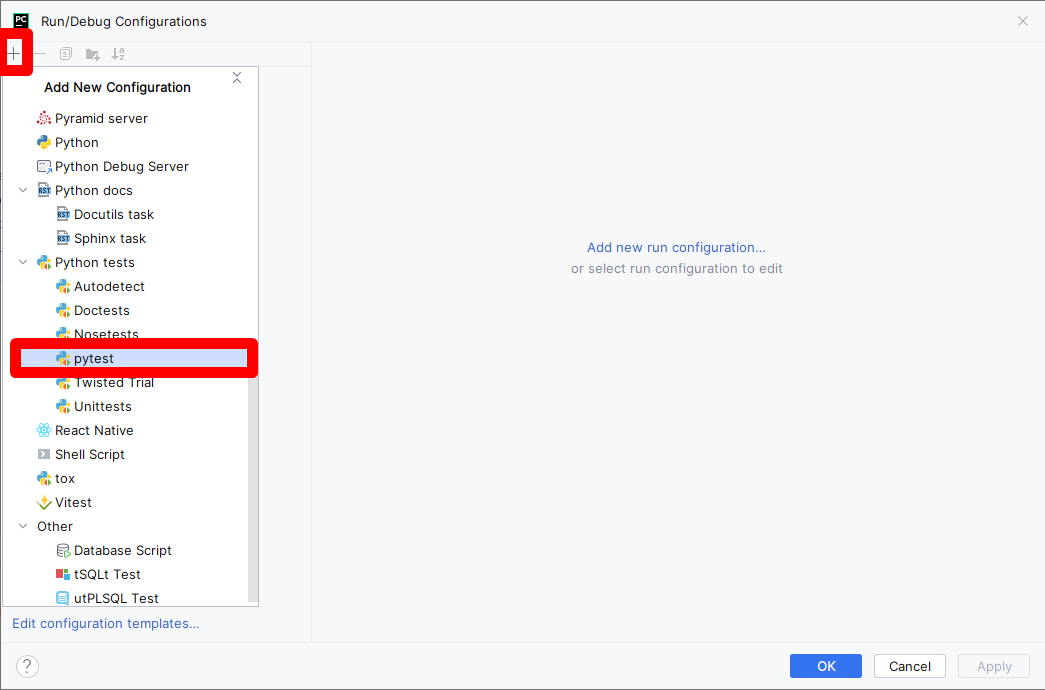
Fill
pytestconfiguration and clickOK: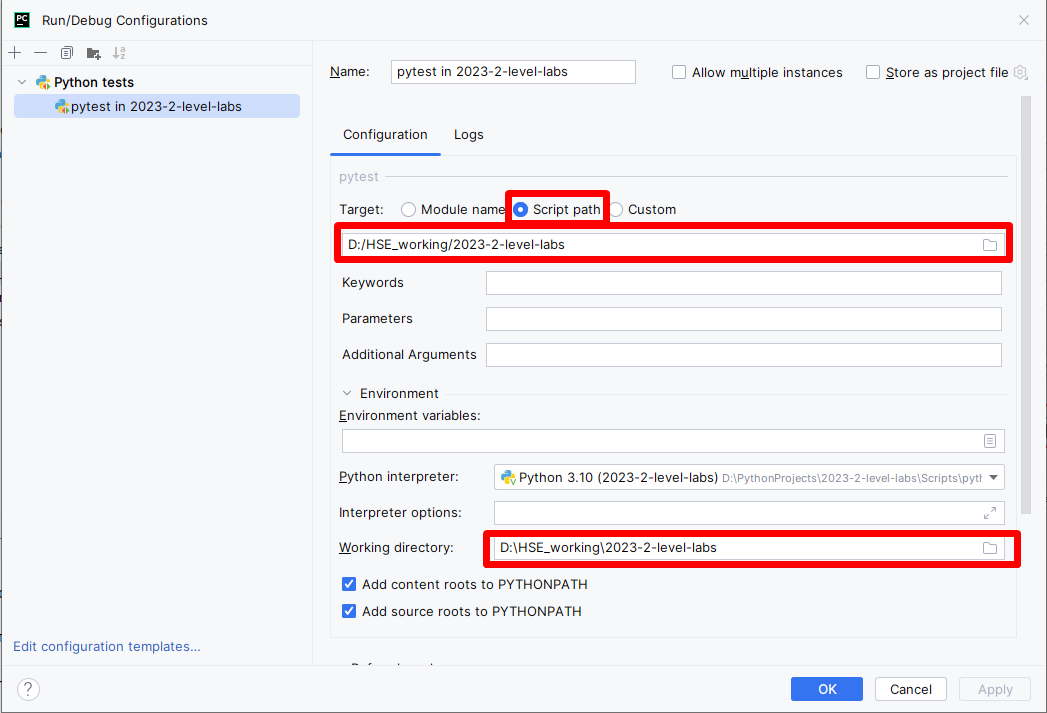
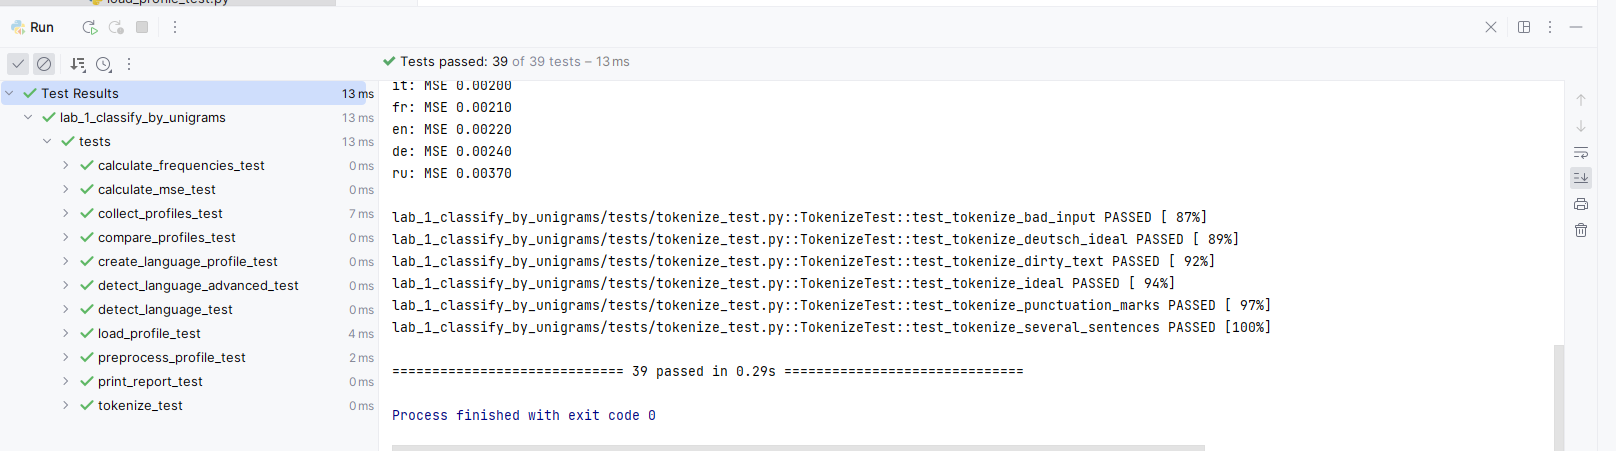
Run
pytestconfiguration:
This should run all the tests in the repository. You can inspect them by clicking through a list at the bottom of a screen.
As you have some tests failing, you want to debug them. Then, first, you need to limit a scope of running tests and the mark level you want to get for an assignment. For example, you might want to run checks for a crawler configuration. Then you need to return to configuration menu and pass additional parameters, like
-m stage_2_1_crawler_config_check.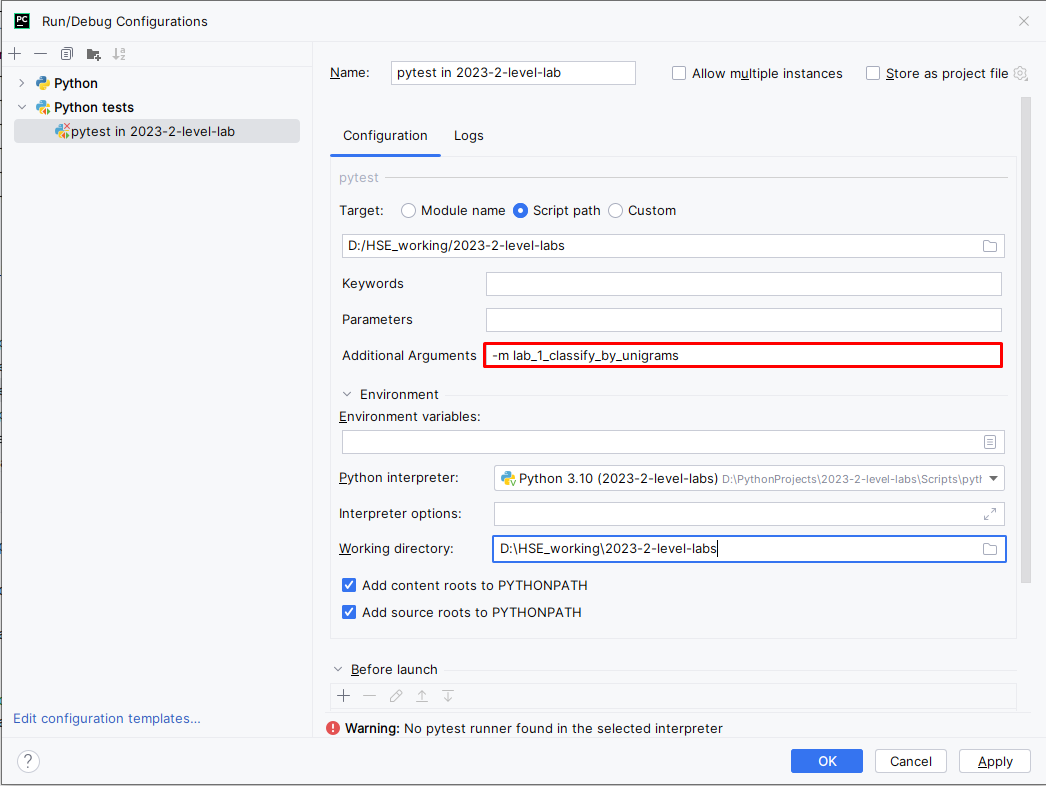
You can choose any of the labels that are described in
pyproject.tomlfile and combine with a mark. For example, running the aforementioned check for configuration for a mark 8 will look like-m "mark8 and stage_2_1_crawler_config_check".
Hint
To running all tests for first assignment for mark 8:
-m "mark8 and (stage_2_1_crawler_config_check or
stage_2_2_crawler_check or stage_2_3_HTML_parser_check or
stage_2_4_dataset_volume_check or stage_2_5_dataset_validation)"
Hint
When you want to debug a test, instead of running them, put a breakpoint at the potentially vulnerable place of code and execute debugging by clicking a ‘bug’ button.
Running tests in CI
Tests will never run until you create a Pull Request.
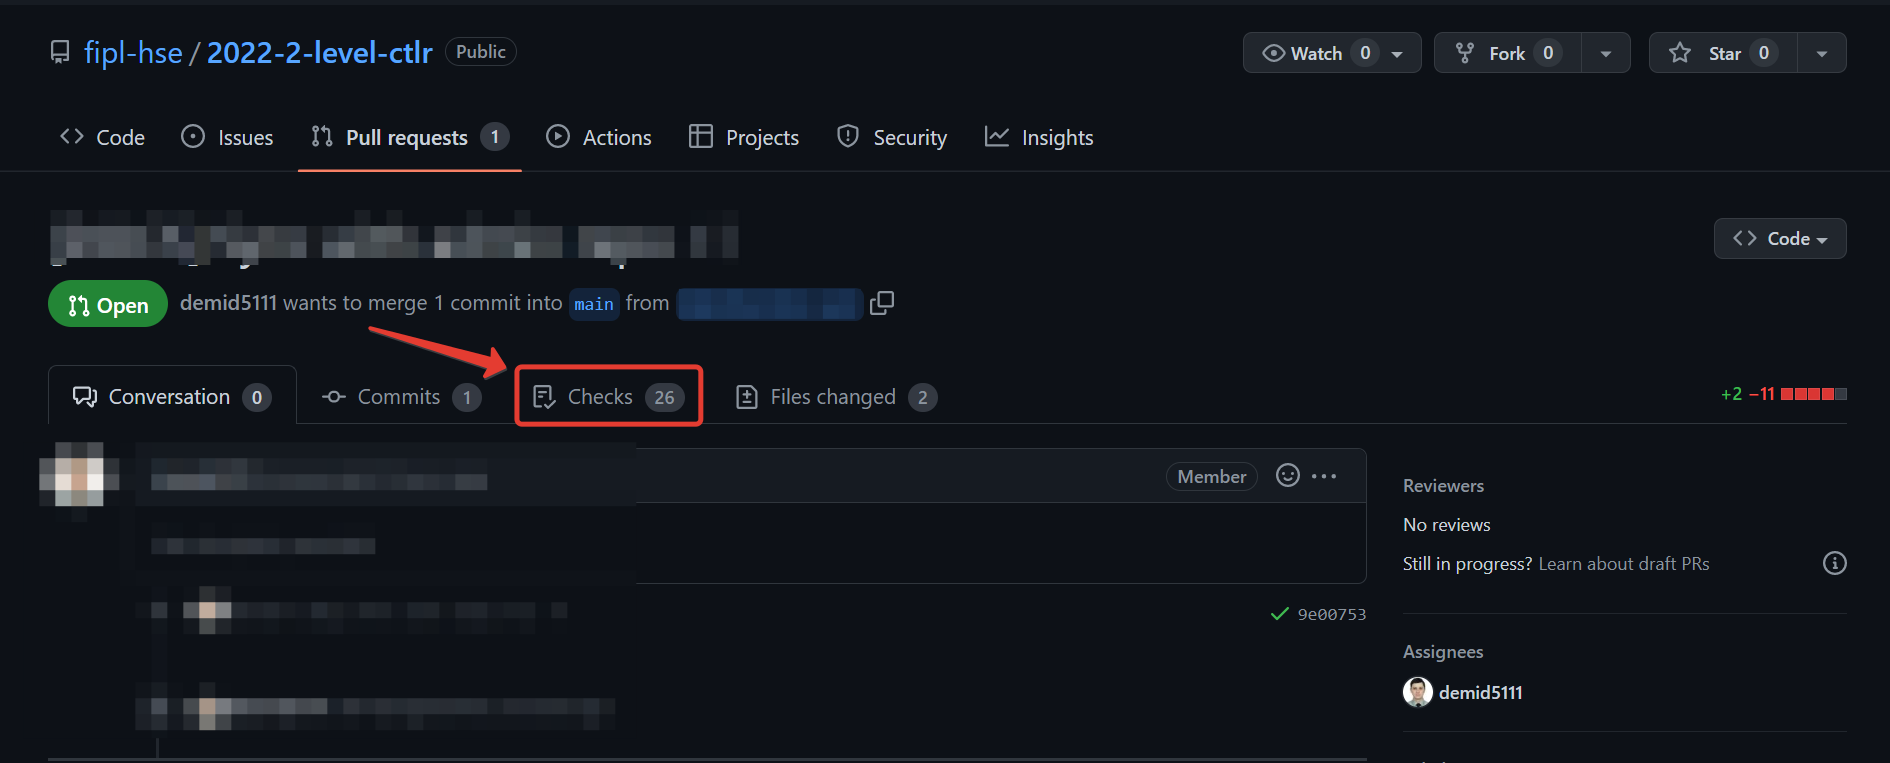
The very first check happens exactly when you create a Pull Request. After that, each time you push changes in your fork, CI check will be automatically started, normally within a minute or two. To see the results, navigate to your PR and click either the particular step in the report at the end of a page, or click Checks in the toolbar.
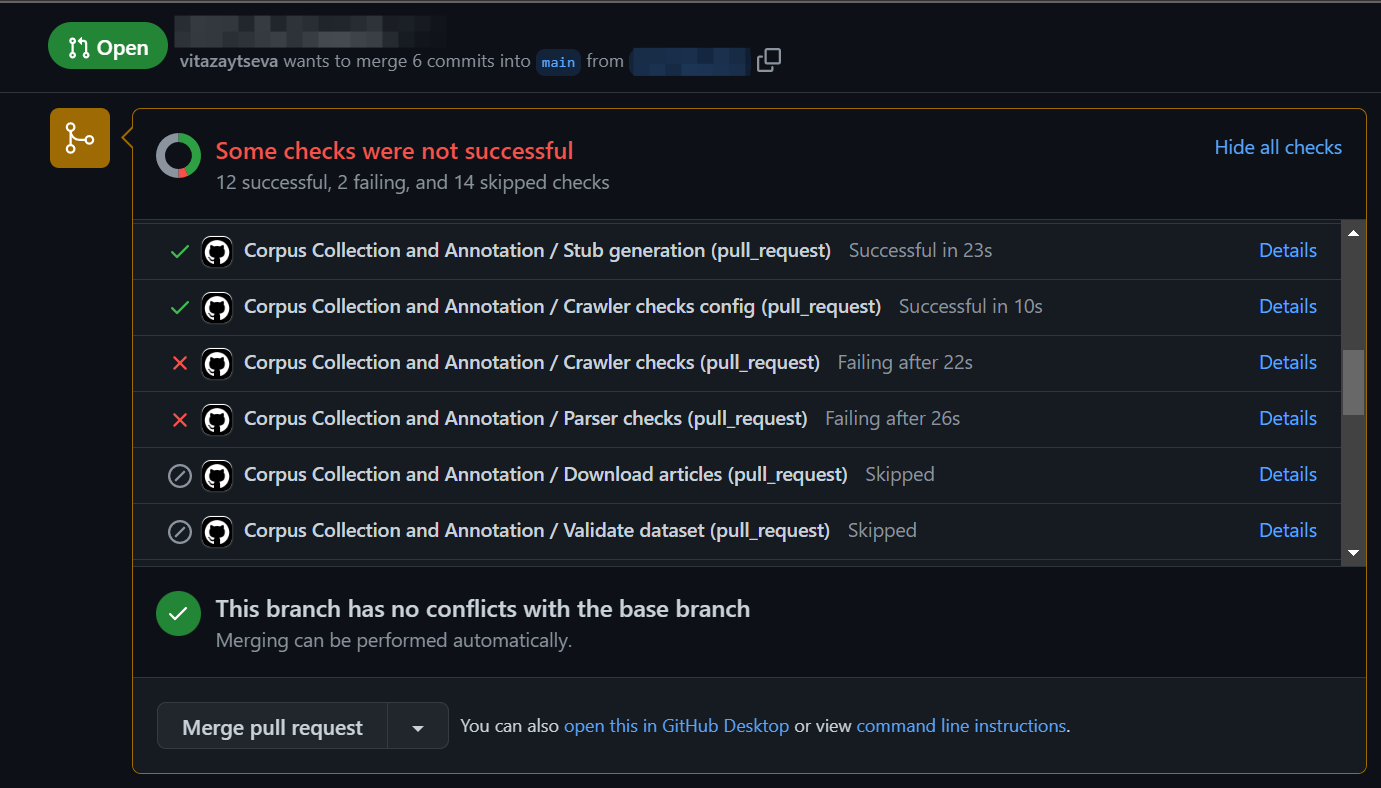
Inspect each step by clicking through the list to the left.
CI stages
Stage 1. Style
Stage 1.1. PR Name
Stage 1.2. Code style (
pylint,flake8)
Stage 2. Crawler
Stage 2.1. Crawler config validation (we ensure that crawler has certain sanity checks)
Stage 2.2.
Crawlerinstantiation validationStage 2.3.
Parserinstantiation validationStage 2.4. Articles downloading
Stage 2.5. Dataset volume validation
Stage 2.6. Dataset structure validation
Stage 3. Text Processing Pipeline
Stage 3.1. Dataset sanity checks (we ensure that pipeline has certain sanity checks)
Stage 3.2.
CorpusManagersanity checks (we ensure that pipeline identifies all articles correctly)Stage 3.3.
MorphologicalTokensanity checks (we ensure that pipeline displays all tokens appropriately)Stage 3.4. Admin data processing
Stage 3.5. Student dataset processing
Stage 3.6. Student dataset validation
Stage 4. Additional tasks
stage 4.1.
POSFrequencyPipelinechecksStage 4.2. Frequency visualization